The first scenario in the Pequot War book by First Command Wargames pits John Stone and his crew against a band of Niantic Indians. The English start the game in the woods. Their goal, on the opposite side of the board, is to reach their ship, anchored in the Connecticut River. Since I was still waiting for some figure bases to arrive, I started thinking about terrain for the game. The first thought, of course, was what to use for a ship.
Many years ago, on a visit to Plymouth, Massachusetts, I took a photo of the shallop that was floating in the water next to the reproduction of the ship Mayflower. Thinking about what a band of English pirates may have been using as a landing craft in 1634, this image immediately came to mind.
Searching for "28mm shallop" didn't turn up much online. Using more generic boat terms, I did find some terrain models, but they either cost more than I wanted to spend, or they were 3D printed, and my current printer is out of service. My second option was to attempt to scratch build something. I downloaded a few plans, and started to resize them, but then I remembered something.
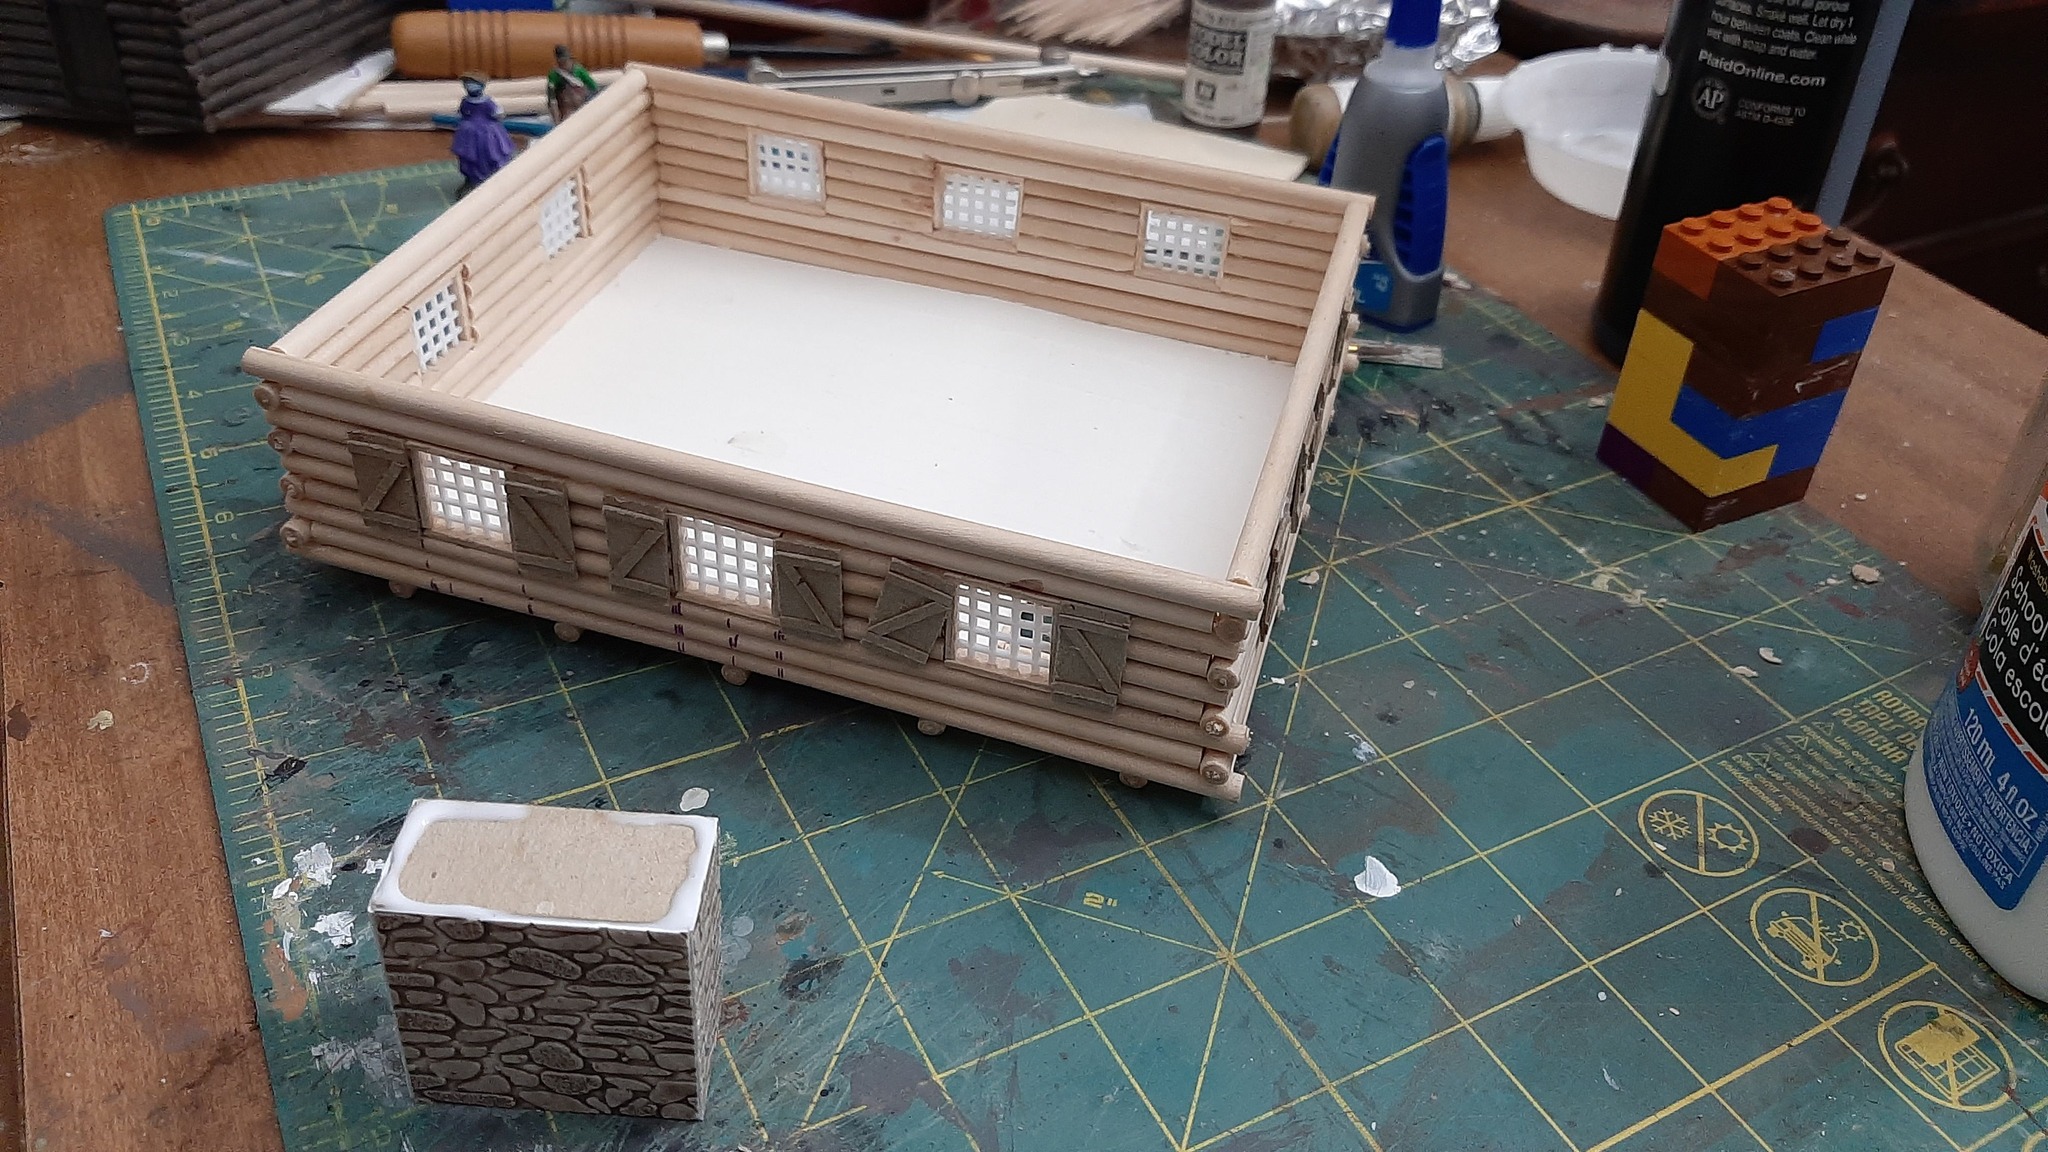
Several years ago, I backed the Savage Frontiers Kickstarter campaign of French & Indian War figures. Included with the Kickstarter rewards was a fur traders river boat, which I had assembled and painted up, then put on a shelf to collect dust.
 |
Fur trappers river boat.
|
The cabin of this little craft is removable, so I considered an idea. What if I could add sails to the hull, and make myself a more English looking craft for John Stone and crew to escape to?
 |
Cabin removed.
|
I didn't want to drill into the hull, or modify it in any way that would require cutting, so I thought that I might try building a sort of false deck, with masts and sails attached. That way, I could easily convert back and forth between the French trapper's boat and the English privateer's boat.
Popsicle stick and dowels were cut to fit, using this image from the Royal Museums Greenwich as inspiration:
 |
Pinnace sail plan.
|
 |
Test fit with masts in place.
|
The original craft came with an arms for the rudder. To more closely match the pinnace image, I used some of the stick cut-offs to create a small flat rudder that could slot into the back of the boat.
 |
Rudder in place.
|
After some painting, sails were added. I tried paper sails first, but didn't care for the look. Some scrap fabric looked better, but was difficult to glue, and still needs a bit of ironing to flatten them out. In retrospect, since I used fabric, I could have sewn the sails to the masts. Live and learn.
 |
| Initial painting. |
 |
Sails in place.
|
Overall, I like the result. It's not perfection, but it'll do for a single game, and I've learned what I can do to improve on the idea in the future. I purposefully left off the rigging, which makes the scale modeler in me twitch a bit, but it helps with game play, as figures can be placed on the boat. I think this will work well for the first Pequot War scenario
 |
Ready to sail up the Connecticut River.
|